I'm back to my crafty ways, this time with an easy peasy treat recipe to satisfy your sweet tooth over Easter. Because obviously, you won't already be eating enough chocolate... As you know I really got into crafts and 'baking' last year when I took it upon myself to try out some ideas for
Halloween and
Christmas. Now Easter is upon us and I've decided to bring you some crafty ideas which I hope you'll all like to try and share.
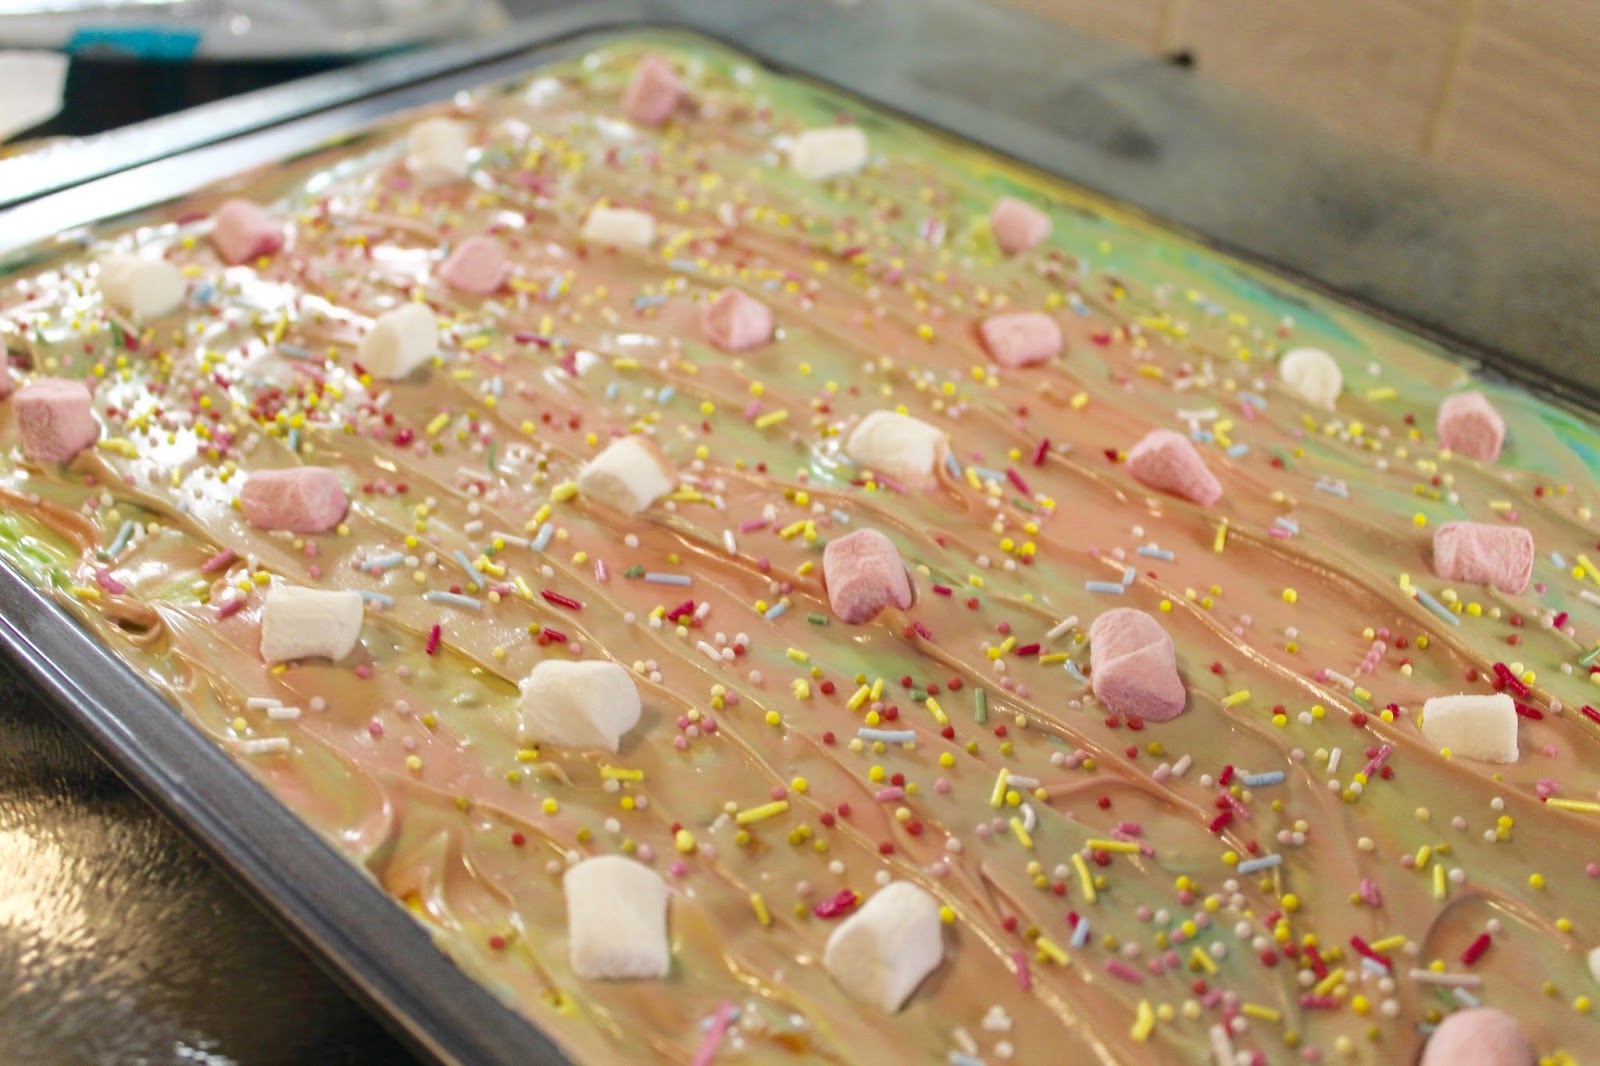
First up is a sweetie bark made with Candy Melts, pretzels, sprinkles and marshmallows. I'm not sure if you've all seen 'bark' before, but it's just a sheet of Candy Melts (which are basically coloured white chocolate) sprinkled with all sorts of goodies. The colours that I've used for this make it perfect for an Easter treat to keep for yourself or give to your friends.
I will say that when I made this it didn't work the way I thought it was going to as the Candy Melts didn't melt as I anticipated. Instead of telling you what I did, I'll tell you what you should do...i.e what I did after to correct it.
You will need:
- A shallow baking tray (deep enough to make a layer of your bark)
- Three packets of Candy Melts (I've used blue, yellow and pink)
- 50g salted pretzels
- Two different types of sprinkles
- Mini marshmallows
- Microwaveable jug/container
- Palette knife spatula
- Airtight container to keep it in when you've made it
Start by breaking up your pretzels and laying them out over the baking tray. You can make these really small or leave them quite big, this is all up to personal preference. Then melt a whole packet of one colour of your Candy Melts, I used yellow for the base. Use the packet instructions to melt and make sure it's nice and smooth before you start to pour it on the baking tray over your pretzels.
I'll just warn you, this won't go smoothly! They don't seem to melt as much as chocolate does so you'll just have to start spreading this across the baking tray with the palette knife. Whilst you are spreading this, melt half a pack of another colour. Dollop this onto your baking tray in different areas and spread this around. Repeat with the last colour until you have filled the baking tray and spread around in a tie-dye pattern.
Once this is complete you can decorate. Take your sprinkles and shake them across the whole tray, then add your marshmallows in whatever placement you like. Make sure you have a shelf clear in the fridge as when you've finished decorating this needs to go in for around 2 hours.
When it's completely set you can lift it out of the tray and break it into chunks. I just got hold of it and started to snap it. It's quite a sickly treat so after I took my photos I've broken it up into smaller bits.
This has been a hit with everyone that's tried it so far!
What do you think? Is this something you'll be making as an Easter treat? I'd love to see any variations you try!