

Wednesday, 6 August 2014
How to ensure your nails are stunning every time
Thursday, 15 August 2013
My Private Jet
Before jetting off to Florence, I had to create my holiday manicure. Usually, I like to have something bright or some nail art to catch people's eyes but for this holiday I wanted something more classic.
I chose OPI - My Private Jet.
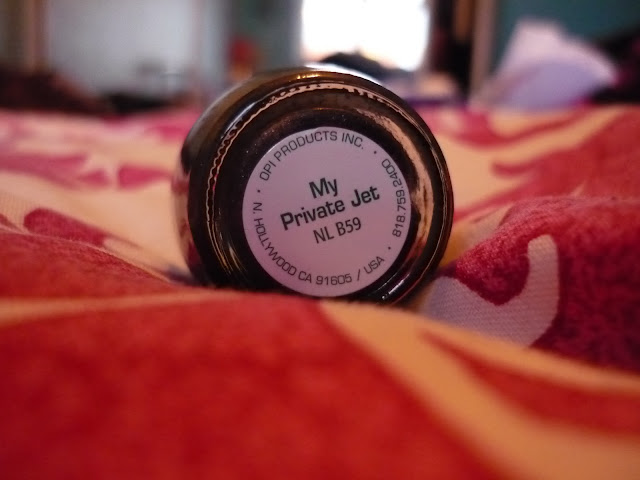


I chose OPI - My Private Jet.


This is a colour I've had for about a year now and haven't worn much. It's a beautiful black/dark brown polish with lots of specs of holographic glitter throughout. It's a bit like having simple galaxy nails without the effort.
I believe My Private Jet is part of OPI's base range so where ever there is a full OPI rack (Debenhams/Fenwick) this should be there.
Do you like this colour? Would you wear it?
Saturday, 3 August 2013
A girly twist on a french manicure
When it comes time to refresh my nails I'm always looking for inspiration online. My latest manicure idea came from the Maybelline Facebook page.
I decided that this week I would try a twist on a french manicure by using a bold pink on my nail and a dark purple on the tip. Taking into account I have never even tried a french manicure before or used the nail stickers I think I did an okay job.

Now for how I achieved this manicure, here are 5 easy steps:

I decided that this week I would try a twist on a french manicure by using a bold pink on my nail and a dark purple on the tip. Taking into account I have never even tried a french manicure before or used the nail stickers I think I did an okay job.

Now for how I achieved this manicure, here are 5 easy steps:
- Prep your nails, neaten your cuticles and apply a base coat.
- Paint your nails with the colour you want on your nail, here I have used Shorts Story - OPI
- You can either wait for this to completely dry or use a fast drying topcoat. Then place the nail tip guide stickers on your nail. Note that the space you are leaving at the top of your nail will be painted in the other colour. Here I could have done with a little less space...
- When all your stickers are in place paint the other colour on the tip, I've used Vant to Bite My Neck - OPI. Ensure that once you have painted the tip wait a few seconds then immediately remove before painting the next finger.
- Finally, paint top coat over your nail to smooth it all over.

I'm off to Florence on Wednesday, so I am sure there will be another holiday manicure to show before I go.
Subscribe to:
Posts (Atom)