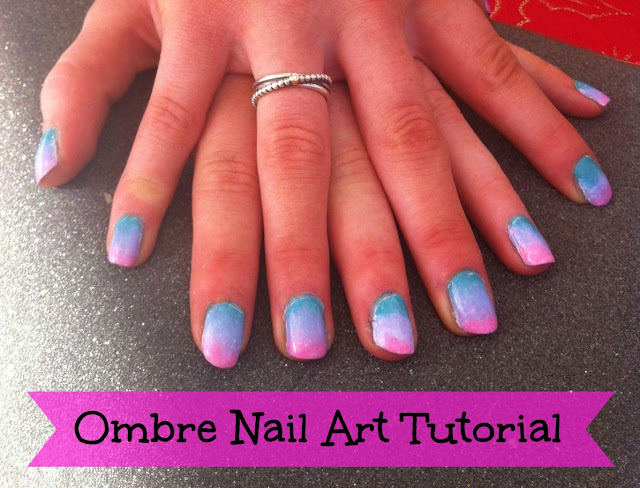
In order to understand how to create the look I used this a Youtube tutorial which was really easy to follow and created the desired look. To help you recreate this nail art look I've written a short tutorial below:
You'll need:
- A white nail varnish (I used OPI Alpine Snow)
- A sponge cut to the size of your nails (makeup or household)
- Three nail varnish colours to be used in your ombre (I used Sinful Colours - Blue - Sweet Nothing, Purple - Candy Coated, Pink - Sugar N Spice)
- First, paint your nails a base coat of white.
- Paint the three nail varnish colours in lines one after the other onto the sponge. Make sure you get enough polish on the sponge so that it will apply nicely.
- Press the sponge on to your nails, you can either roll it on or press, I think a combination of the two works best.
- Then as the sponge will have been slightly bigger than your nails you need to clean up! Do this will some nail varnish remover and a small nail art brush.
What do you think? Fancy trying this out? Let me know if you do!


No comments
Post a Comment