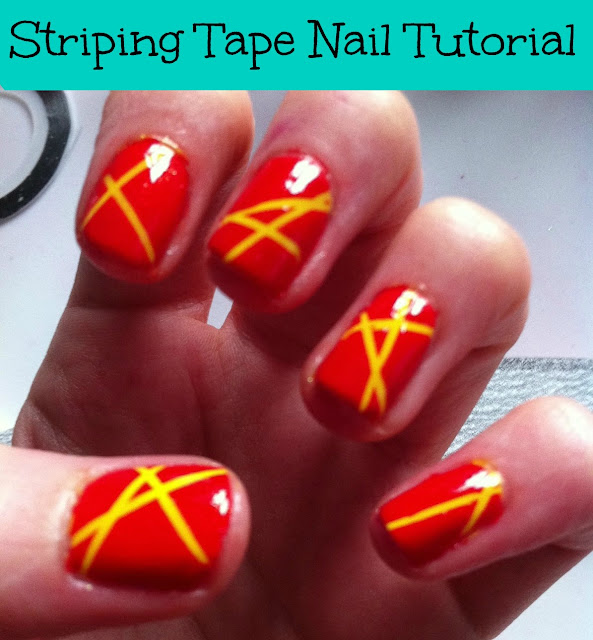
After a nosy through my nail box, I came across my striping tape and thought it was about time I perfected the technique. I'd tried to do a striping tape manicure previously but I failed miserably!
This time before I started I decided to do some research and watch a few Youtube videos. I came across a video by SuperWowStyle which worked perfectly. The key to a striping tape manicure is being prepared and taking the tape off a few seconds after applying the top colour coat.
To try this nail art you'll have to get yourself some striping tape (you can get this super cheap from Ebay), your chosen nail polish colours (one for a base coat which you'll see when the tape is taken away and another for the top) and a pair of tweezers (to peel away the tape).
The steps for this manicure are simple:
- Apply your base coat as normal and then paint on your base colour. I've used Colour Club - 38.
- Make sure this layer is completely dry before applying anything else. As I am too impatient to let it dry itself I added a coat of Seche Vite to ensure it was fully dry.
- Cut your strips ready to apply. I stuck mine along my table as I would with sticky tape when wrapping a present. You can then apply these with your tweezers. Apply onto the nail in any style you like. Make sure they are stuck down well or else your colour will seep under with enough excess at the end to be able to pull it off.
- Paint your top colour on. I used Avon, 'Apple of His Eye'. Then take your striping tape off with your tweezers. The manicure will work better if you paint one thick coat rather than two as you need to remove the tape after around 10 seconds. If the paint starts to dry you'll mess your whole nail up. Make sure to remember the order in which you stuck down your pieces of tape so you can take them off in reverse, i.e the top one first to prevent smudging the nail varnish.
- When you have completed all nails simply apply your top coat and you're done.
I hope this tutorial helps you out if you are going to attempt this nail art. I'd love to see if you try this out.


Wow good job! I haven't had much like with striping tape unfortunately.
ReplyDeleteTry again, it's really easy! :)
Delete