Monday, 25 January 2016

A berry good way to start the day

Breakfast, the most important meal of the day. I'm a lover of breakfast and I'm always excited to eat my first meal of the day. When I was younger it was always a meal that I skipped as I thought it was too early and I just didn't feel up for it. Now that I've gotten into a routine with breakfast I've become a lover. I always try to eat a healthy breakfast but most of the time I end up with cereal or on special occasions, Pop-Tarts!

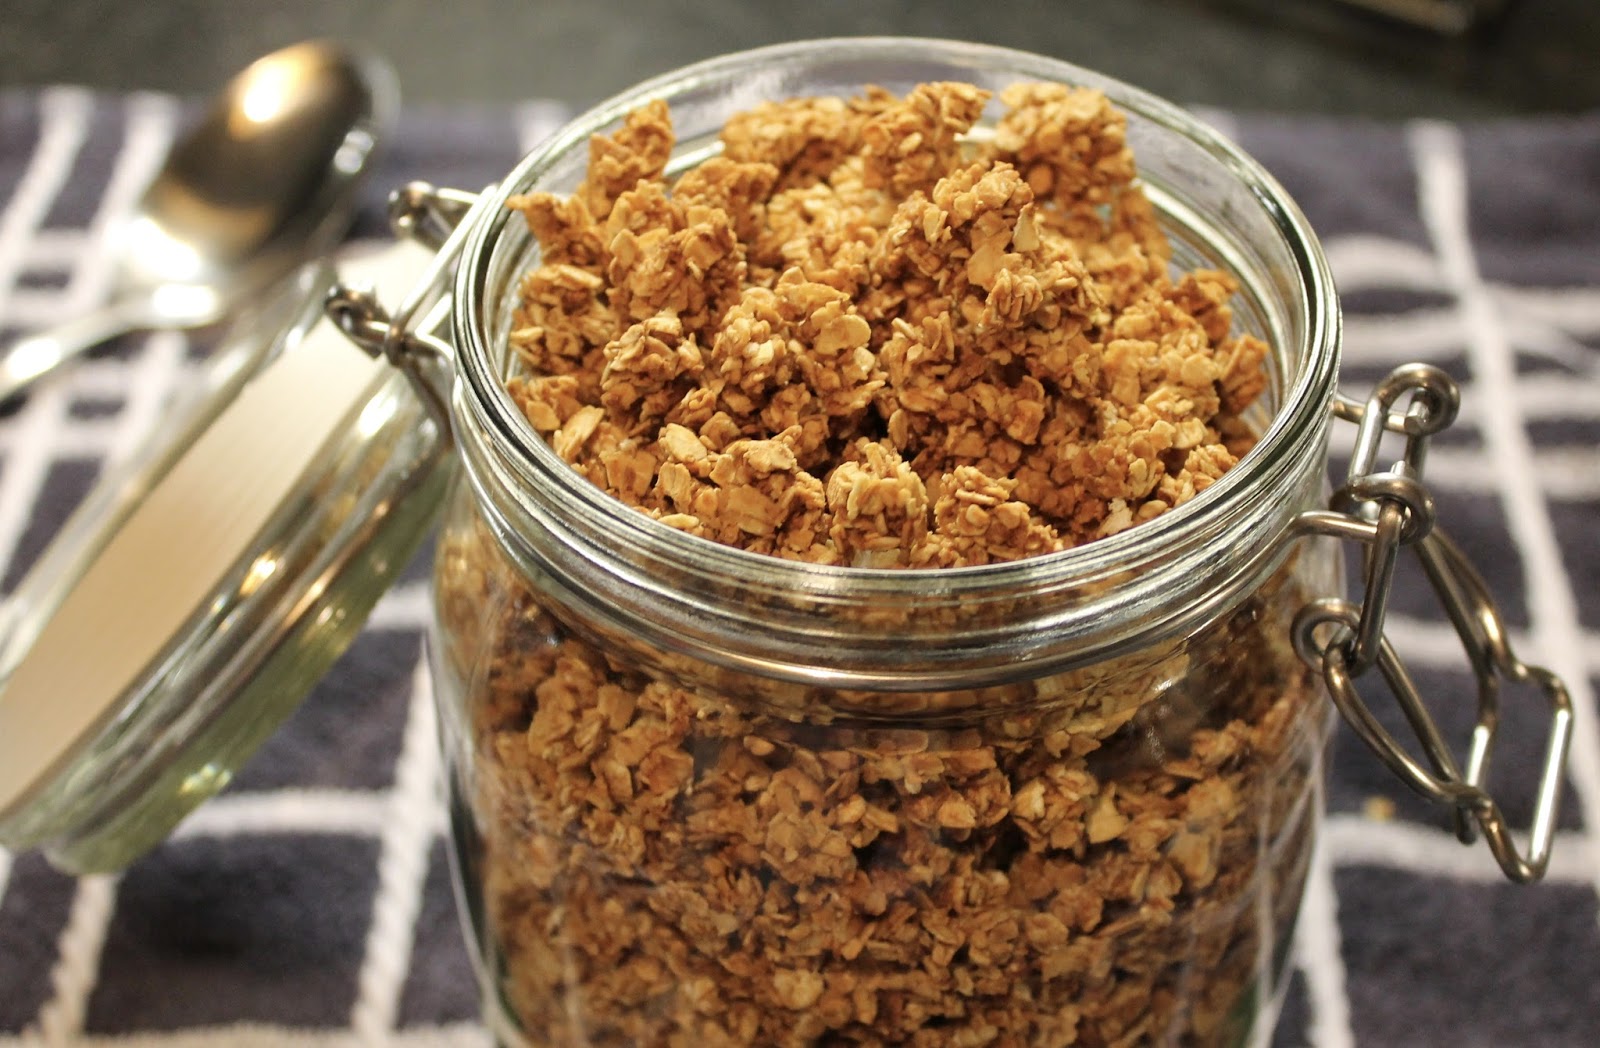
One day when I was watching one of Niomi Smart's vlogs I saw her making a berry sauce for her pancakes and I decided I could adapt this to use on yoghurt. I also made a batch of this Healthy Homemade Honey Vanilla Granola to accompany it.




To make this sauce you'll need to pick which berries you'd like to use. I chose blueberries, raspberries and cherries. You can use frozen or fresh, it doesn't really matter as they break down the same way. Put them in a small pan with a dash of water and a squeeze of honey then put on a low heat. Keep stirring to ensure they don't burn and squash the berries softly as you go. You'll know by the consistency and how it looks when it's done but I'd say it takes 5-10 minutes.

Let it cool and then store it in an airtight container. I usually get around three uses out of it depending on how much I put on my breakfast. It's super tasty and relatively good for you. It's nice to have something a little different that you've made yourself which looks, and tastes, like it, came from a posh restaurant!
SHARE:

Monday, 14 December 2015

Homemade Lavender Sugar Body Scrub

This Christmas I've really been enjoying making homemade gifts for people. I've already posted about the personalised mugs and hot chocolate blocks I made and to add to these I've got a homemade sugar body scrub recipe. Inspired by Stephanie's blog about body scrubs, I've made this lovely lavender body scrub to give to my friends and family.

Homemade Lavender Sugar Body Scrub

Homemade Lavender Sugar Body Scrub

Homemade Lavender Sugar Body Scrub


Homemade Lavender Sugar Body Scrub

Homemade Lavender Sugar Body Scrub

To make this scrub is super easy and requires little ingredients:

- 20 drops of lavender essential oil
- 1/3 cup of almond oil
- 1 cup of sugar

Other items:
- Glass jars with seals
- Wooden spoon
- Mixing bowl (Make sure you use a fresh bowl and spoon that you won't be using again for food.)

First, put your cup of sugar into your mixing bowl. Add the 20 drops of essential oil and mix thoroughly. When you are satisfied this is mixed well, add the almond oil a bit at a time giving it a really good mix. When your scrub reaches the consistency of moist sand it is done. 

I then scooped this into my jars, sealed them off and decorated with a strand of Christmas string and a label letting my friends/family know what ingredients are in the scrub, how long it should last, that they should mix it before use and also do a patch test first to ensure no irritation.

Homemade Lavender Sugar Body Scrub

Homemade Lavender Sugar Body Scrub

If you are keen to make a homemade scrub but don't fancy the lavender sugar one, I recommend you check out Stephanie's site as she has different varieties using different ingredients and has lots of information on essential oils. Make sure to read up on the essential oils before trying out your own!

What do you think? Would you make this?
SHARE:

Friday, 4 December 2015

Christmas Homemade Personalised Mug and Hot Chocolate Gift Idea

If you saw Wednesday and Thursday's posts, you'll know what is coming. This is the amalgamation of the two items created in these posts, the personalised mug and the little hot chocolate blocks. It was so much fun to make both of these gifts and they'd be amazing to give to anyone as individual bits. We decided that we wanted to pair them together and make a song and dance about our little homemade gifts.

Christmas Homemade Personalised Mug and Hot Chocolate Gift Idea

Christmas Homemade Personalised Mug and Hot Chocolate Gift Idea

Christmas Homemade Personalised Mug and Hot Chocolate Gift Idea

Christmas Homemade Personalised Mug and Hot Chocolate Gift Idea

Christmas Homemade Personalised Mug and Hot Chocolate Gift Idea

Christmas Homemade Personalised Mug and Hot Chocolate Gift Idea

Christmas Homemade Personalised Mug and Hot Chocolate Gift Idea

To create the little bundles we used:

- Our homemade mugs
- Our homemade chocolate blocks
- Clear cellophane (similar to this)
- Christmas ribbon
- Mini marshmallows
- Candy canes
- Christmas string
- Plain labels

We started by filling the mugs with mini marshmallows for our family to enjoy with their hot chocolate blocks, which we'd already wrapped in the cellophane, tied with the Christmas string and then popped on top of the marshmallows. We added two candy canes to each as they are super cute and very Christmassy.

Then we had the task of cutting the cellophane to the right size to fit around the mug nicely. The first attempt didn't work so well but after the second we were on a roll gathering the cellophane around the top of the mug and fastening tightly with Christmas ribbon. I chose a gingerbread man one, I wonder why... We also then added a little label to let the receiver know what to do with their chocolate blocks.

Finally, our little homemade gifts were complete and we were really impressed with our crafty hands. I don't know about you but we think they look really professional and we're proud to give them to our family. In fact, we can't wait to see what they think.

Do you like? Will you be attempting something like this at Christmas?

If you have any crafty Christmas posts please feel free to link below so I can have a nosy.
SHARE:

Thursday, 3 December 2015

Candy Cane Hot Chocolate Blocks - Christmas Handmade Idea

Following on from yesterday's post, I've got another homemade Christmas gift idea featuring today! To go with the mugs we created for our family, we decided to create little blocks of chocolate to make a special hot chocolate.

For this, all you need is:

Chocolate
Silicone Mould (in any shape you fancy)
Candy Canes
A Fridge

Candy Cane Hot Chocolate Blocks - Christmas Handmade Idea

Candy Cane Hot Chocolate Blocks - Christmas Handmade Idea

Candy Cane Hot Chocolate Blocks - Christmas Handmade Idea

Candy Cane Hot Chocolate Blocks - Christmas Handmade Idea

Candy Cane Hot Chocolate Blocks - Christmas Handmade Idea

Candy Cane Hot Chocolate Blocks - Christmas Handmade Idea

To make these little blocks, simply melt the chocolate, either in the microwave or on the hob over some hot water. Once melted pour into the mould. Smash the candy cane in a plastic food bag or under some cling film with a rolling pin or something else heavy, then sprinkle over the chocolate in the mould. If you aren't keen on peppermint don't add it, simply keep it plain or add another flavour like marshmallows.

When you are happy with your coverage, stick this in the fridge and leave it overnight. It should be completely solid when you remove it from the fridge so you can take them out of the mould and wrap up for friends and family. We used some clear plastic wrap (like the kind you use for hampers) and some pretty Christmas string. It's also a good idea to add a tag so that the recipient knows what to do with the blocks. This looks really cute and is perfect for a stocking filler.

Stay tuned for tomorrow's blog post which will show the complete homemade gift idea.
SHARE:

Tuesday, 12 November 2013

A new hobby - candle making

After visiting many vintage/craft fairs and seeing lots of homemade candles I really fancied making my own. Ella from E is for Ella had a tutorial on how to make soy candles on her blog so I thought I'd give it a try! I bought soy wax flakes, candle scents, pre-waxed wicks, a pan, a whisk and some pretty jars.

Basically to make a candle - melt the soy wax flakes slowly until clear and then add the scent, stirring continuously to make sure the wax is all the same temperature. The jar should be already prepared - rinsed and dried to ensure it is clean, pre-waxed wick glued to the bottom of the jar and masking tape ready to secure the wick in a central position. Then carefully pour the wax in to the jar and let it set. When it is set decorate the jar and cut the excess wick.

Home-made candles - candle making process tutorial

I'm making these for friends and family's Christmas presents at the moment but would love to be able to sell these at vintage/craft fairs!

What do you think? Do you like them? Will you be trying this?
SHARE:
© this Northerner.

This site uses cookies from Google to deliver its services - Click here for information.

Blogger Template Created by pipdig